My smart, beautiful and ever pragmatic friend Jennifer Rose did what most of us are afraid of doing; she plunged into the arduous yet rewarding task of excavating, cataloging and yes, organizing her closet. Jenifer hosts a style blog. I recently caught up with her and we talked about the scary mission of organizing one's closet. Please read her anecdotal accounts below, at the end you can also read the unedited Q&A session we held; I enjoyed so much exploring the very spiritual and practical ways in which organizing can elevate the status of the spaces we have, I hope you enjoy it too.

So my first post is about what I did this weekend. The weekend started simply enough, I went to the library to pick up some movies and while perusing the non-fiction books section I found this, "The Shopping Diet: Spend Less to Get More", by Phillip Bloch. Reading the bio on the back one can ascertained that Bloch is a jack of all trades, stylist, writer, commentator, the list goes on. The book is aimed at people with shopping compulsions or addictions, the promise is that by considering what you actually wear in your wardrobe you will become more aware of what you need, what your style is and what looks good on your body, therefore less likely to make those unnecessary purchases that lead to a budget crisis. I was intrigued. I am not a compulsive shopper, but I always felt like a terribly uninformed or unaware shopper. Constantly buying something I like without considering what I have at home to go with it or even if it was really flattering to my figure. As a result my closet was a mish mash, without enough solid pieces to build an outfit with and a bunch of clothes that didn't fit right. My closet was in desperate need of editing. Following the steps in Part Two of the book (Part One is about assessing your style, what you wear frequently, etc...) I emptied my entire closet, in season, out of season, accessories, jewelry, socks and underwear. My bedroom looked like my closet threw up everywhere. Ahh!! However my closet was completely empty.
Using the tips Bloch outlined, I separated my clothes into categories and then I began to edit. Trying on everything in front of a full length mirror and deciding if it stayed in the closet, was fixed, was sold on eBay or donated.
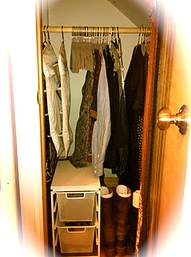 My very well edited closet. Not sparse, minimalist darling.
It took an entire afternoon, but the process was very cathartic and eye opening. I don't have a lot left in my closet, but what is left are clothes and accessories I truly love and wear constantly. The pieces that I feel are missing from my, now very well edited closet are written on a list that will go with me whenever I go shopping. I don't feel like I need a lot of clothes, in fact the more clothes I had the more stifled I felt. Yes, I thought that all those clothes gave me more outfit choices, but they didn't. Having too many choices made getting dressed too complicated and overwrought. I think that the key to style is knowing what works for you, on you, having great accessories to spice up any outfit and carrying yourself with confidence wherever you go.
Q & A - A Yogic Perspective in Organizing Your Closet
Q- So Jenifer, what motivated you to look into the closet?
A- Mornings are always crazy,the most challenging part of my mornings were when I went to get dressed, I would open the closet, see it stuffed with clothes and feel completely overwhelmed. In February, I was reading Philip Bloch's book "The Shopping Diet" and it had a statistic like women do not wear 80% of the clothing they own, instead they wear the same key pieces that are comfortable and fit. Major aha! moment, choices in terms of my closet are bad, instead of feeling empowered by the choice of clothes, I felt overwhelmed. I knew the closet needed to be purged and resolved to do it immediately.
Q- What was your vision or intention when you finally decided to get your closet re-organized?
A- When I started I knew I wanted to cut that "80%", the extra stuff, the fat. I wanted my closet to be well edited to suit my current taste, only containing pieces that fit well and make me feel great when I wear them. Every woman wants that, I just didn't realize how much I didn't need till I dug in.
Q- Did you use any organization technique in particular? What tips or advice was most useful for your closet cleansing?
A- The first thing I did was to remove the extra hangers, this freed up a lot of space in the closet and made it easier to work. I put the hangers in a box to the side in case I needed them. Next I took everything out of the closet, in-season, out of season everything. When everything is hanging up in a dark closet it's hard to evaluate, bring it into the broad light of day so you get a clear picture of what's been lurking in there. As I was taking things out of the closet I sorted them by type, skirts, shirts, pants, etc... I made piles of like items so I could evaluate what I had, example why do I have three pairs of black pants.
I know a lot of people are probably grimacing at the prospect of this kind of deep cleansing, but you need to "make a mess" to get things in order. Also do not, I repeat do not go out and buy things to organize the closet before you clean it out. Clean it out first then see what you need.
Q- How did you decide what garments or accessories had to go? What were you looking for when you looked in the mirror? and What did you do with items that you weren't sure if they had to go?
A- In order to decide what stayed and what went I brought in a full length mirror. I tried everything on and was brutally honest with myself about, what worked, what didn't and what was just so-so. If you aren't able to be that honest, invite over some friends that will be.
For sorting the things to get rid of I pulled out four bags, I labeled them all, one for donations, one for things that I like but need to be fixed, another for things I thought I could sell on eBay (new or almost items) and the last one was for sentimental clothes (things I won't wear, but have a special meaning and maybe one day I will part with). I also brought out a garbage bag for things I couldn't salvage (happy to note, that the clothes in the garbage were recycled into cleaning rags).
If there was a case where I couldn't decide I took a picture of myself wearing the item. Usually the picture didn't lie, if it didn't flatter my figure out it went. Clothes that don't suit your shape are like backstabbing friends, they'll tell you that you look great to your face and then turn around and reveal your flaws to the world, who needs that.
Accessories are only as good as the clothes they go with, if I had any scarves, belts and shoes, that never matched the clothes I have, I got rid of them. It's probably because they were colors I never wear. Also I got rid of any belts or shoes that didn't fit, they were just taking up space.
When I put everything back in the closet I knew it was only things that fit, that flattered and that matched what I owned. I sorted the clothes by type when hanging them up (making it easy to sort through) and the color.
More isn't always better, sometimes it's just more.
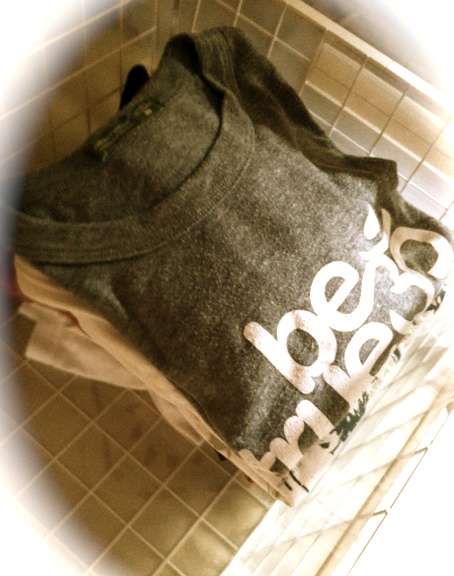 f there were a sartorial symbol of American summer freedom it'd be the cotton T-shirt. They are audacious, cool and comfortable. However, these freedom-fighters can get easily lost and forgotten while piled on top of each other inside a drawer. Any yogi could tell you stories of summoning peace and calm not to go crazy trying to find a T-shirt lost in a messy drawer. Here is an organization tip that will allow you to have a greater visibility and accessibility to all your T-shirts (while at the same time reuse those old bookends left over from the pre-e books era)
This is what you need
 fold them in thirds, lengthwise as per pictures.
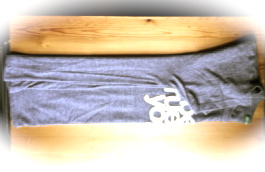 Then fold them in thirds again. Nine-fold style. I learned this technique from a pair of twins that are over 6' tall, they should know how to make all their clothing small to fit in a drawer.
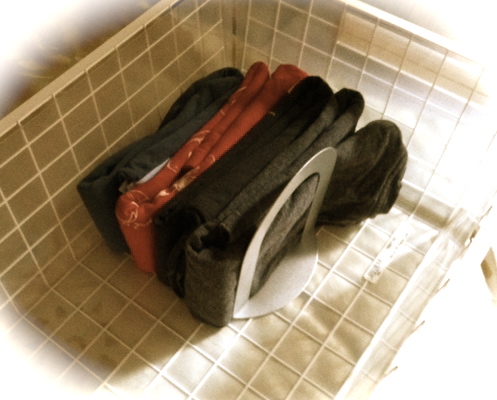 Once you have your T-shirts folded, instead of placing them onto each other, stand them next to each other and use the book end to keep them in place. As you can see from the picture, you can now see all your T's at once and the book end will keep them from becoming a mess.

 My very well edited closet. Not sparse, minimalist darling.
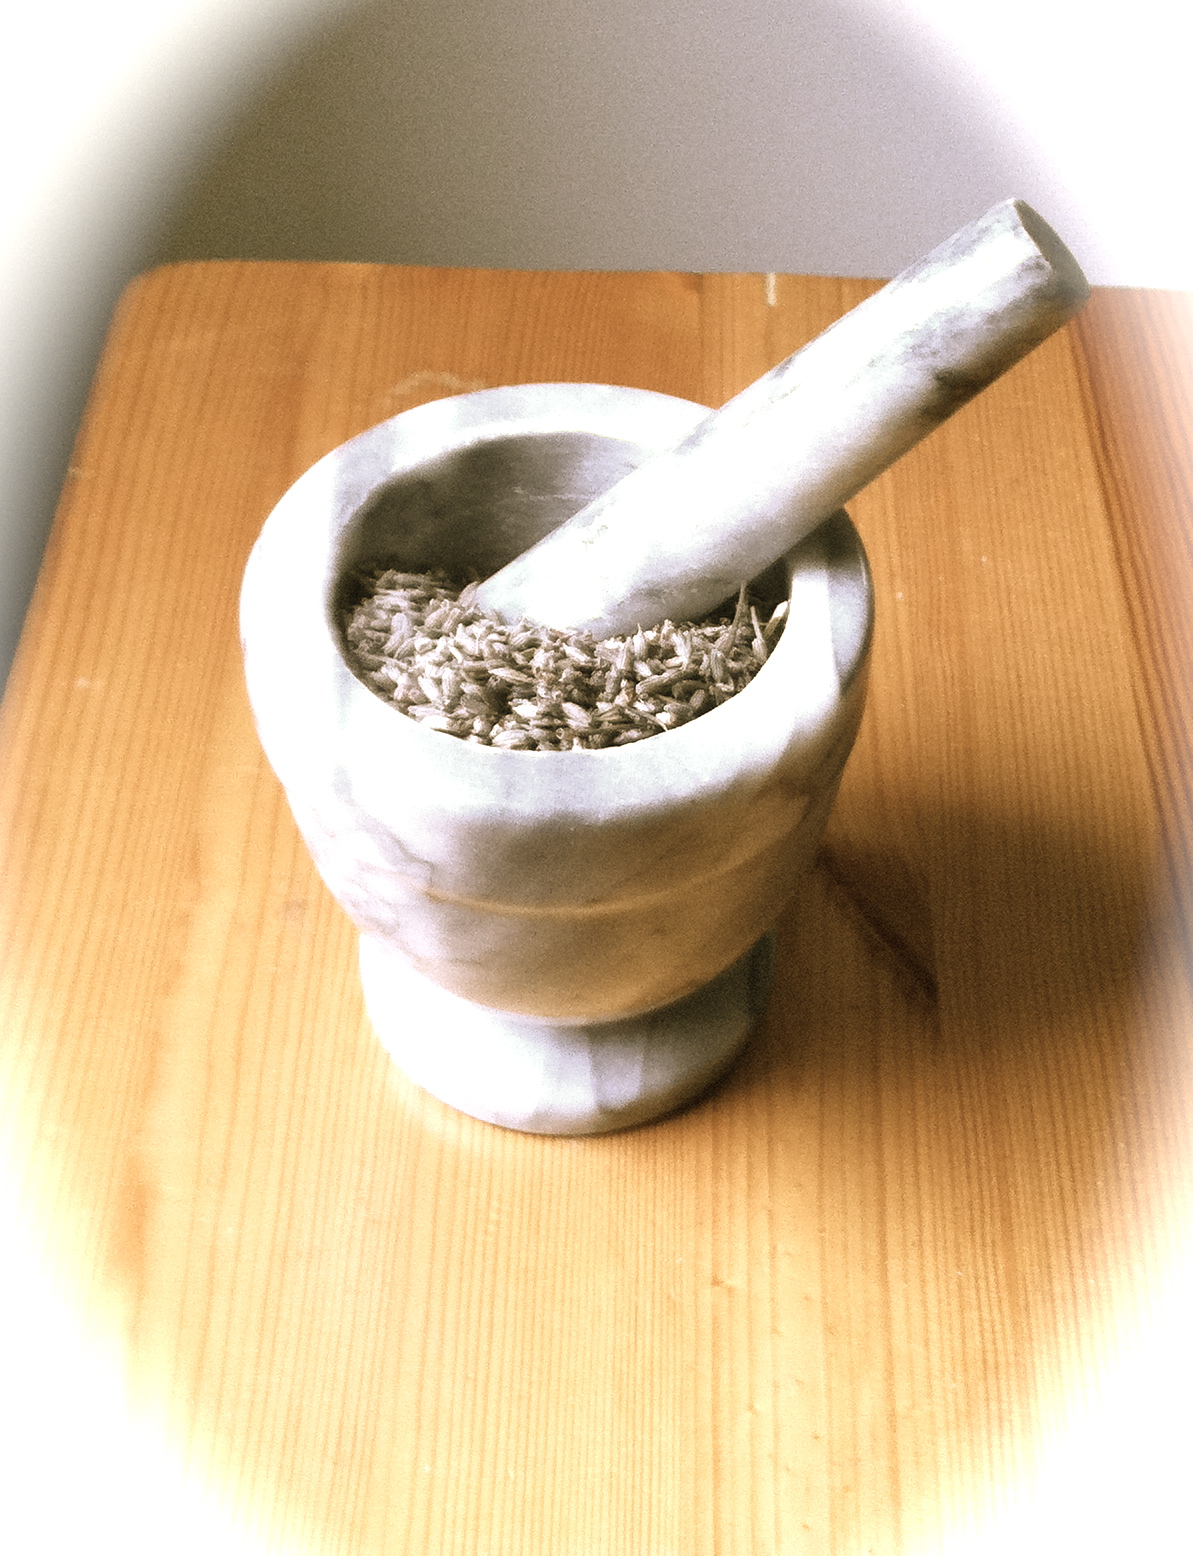 I hope it's save to say that winter is gone; after veiling my skin for the last months with cold weather, bright lights, dry air and public transportation air, I am ready for a deep cleansing of my skin. Scrubbing my skin is my way to polish and groom the shield that allows me to interact with the world and what better time to clean the skin than Spring (this can be done all year around though)
A little nerdy facts, exfoliants cleanse deep within the pores and remove old flaky, surface skin. In my research of essential oils’ health benefits, I’ve re-discover some simple exfoliants that work great for any skin type. Different essential oils are used for different complexion types: dry skin – frankincense, oily skin – tea tree, sun damaged – sandalwood, etc, etc. But there is an essential oils that works with all skin types and most skin conditions, that is lavender essential oil. So without having to consult an aromatherapist or dermatologist, a lavender exfoliant can be a good start for most folks. After some research and trial on my skin (no animals were scrubbed in this experiment), I am ready to share my favorite facial scrub.
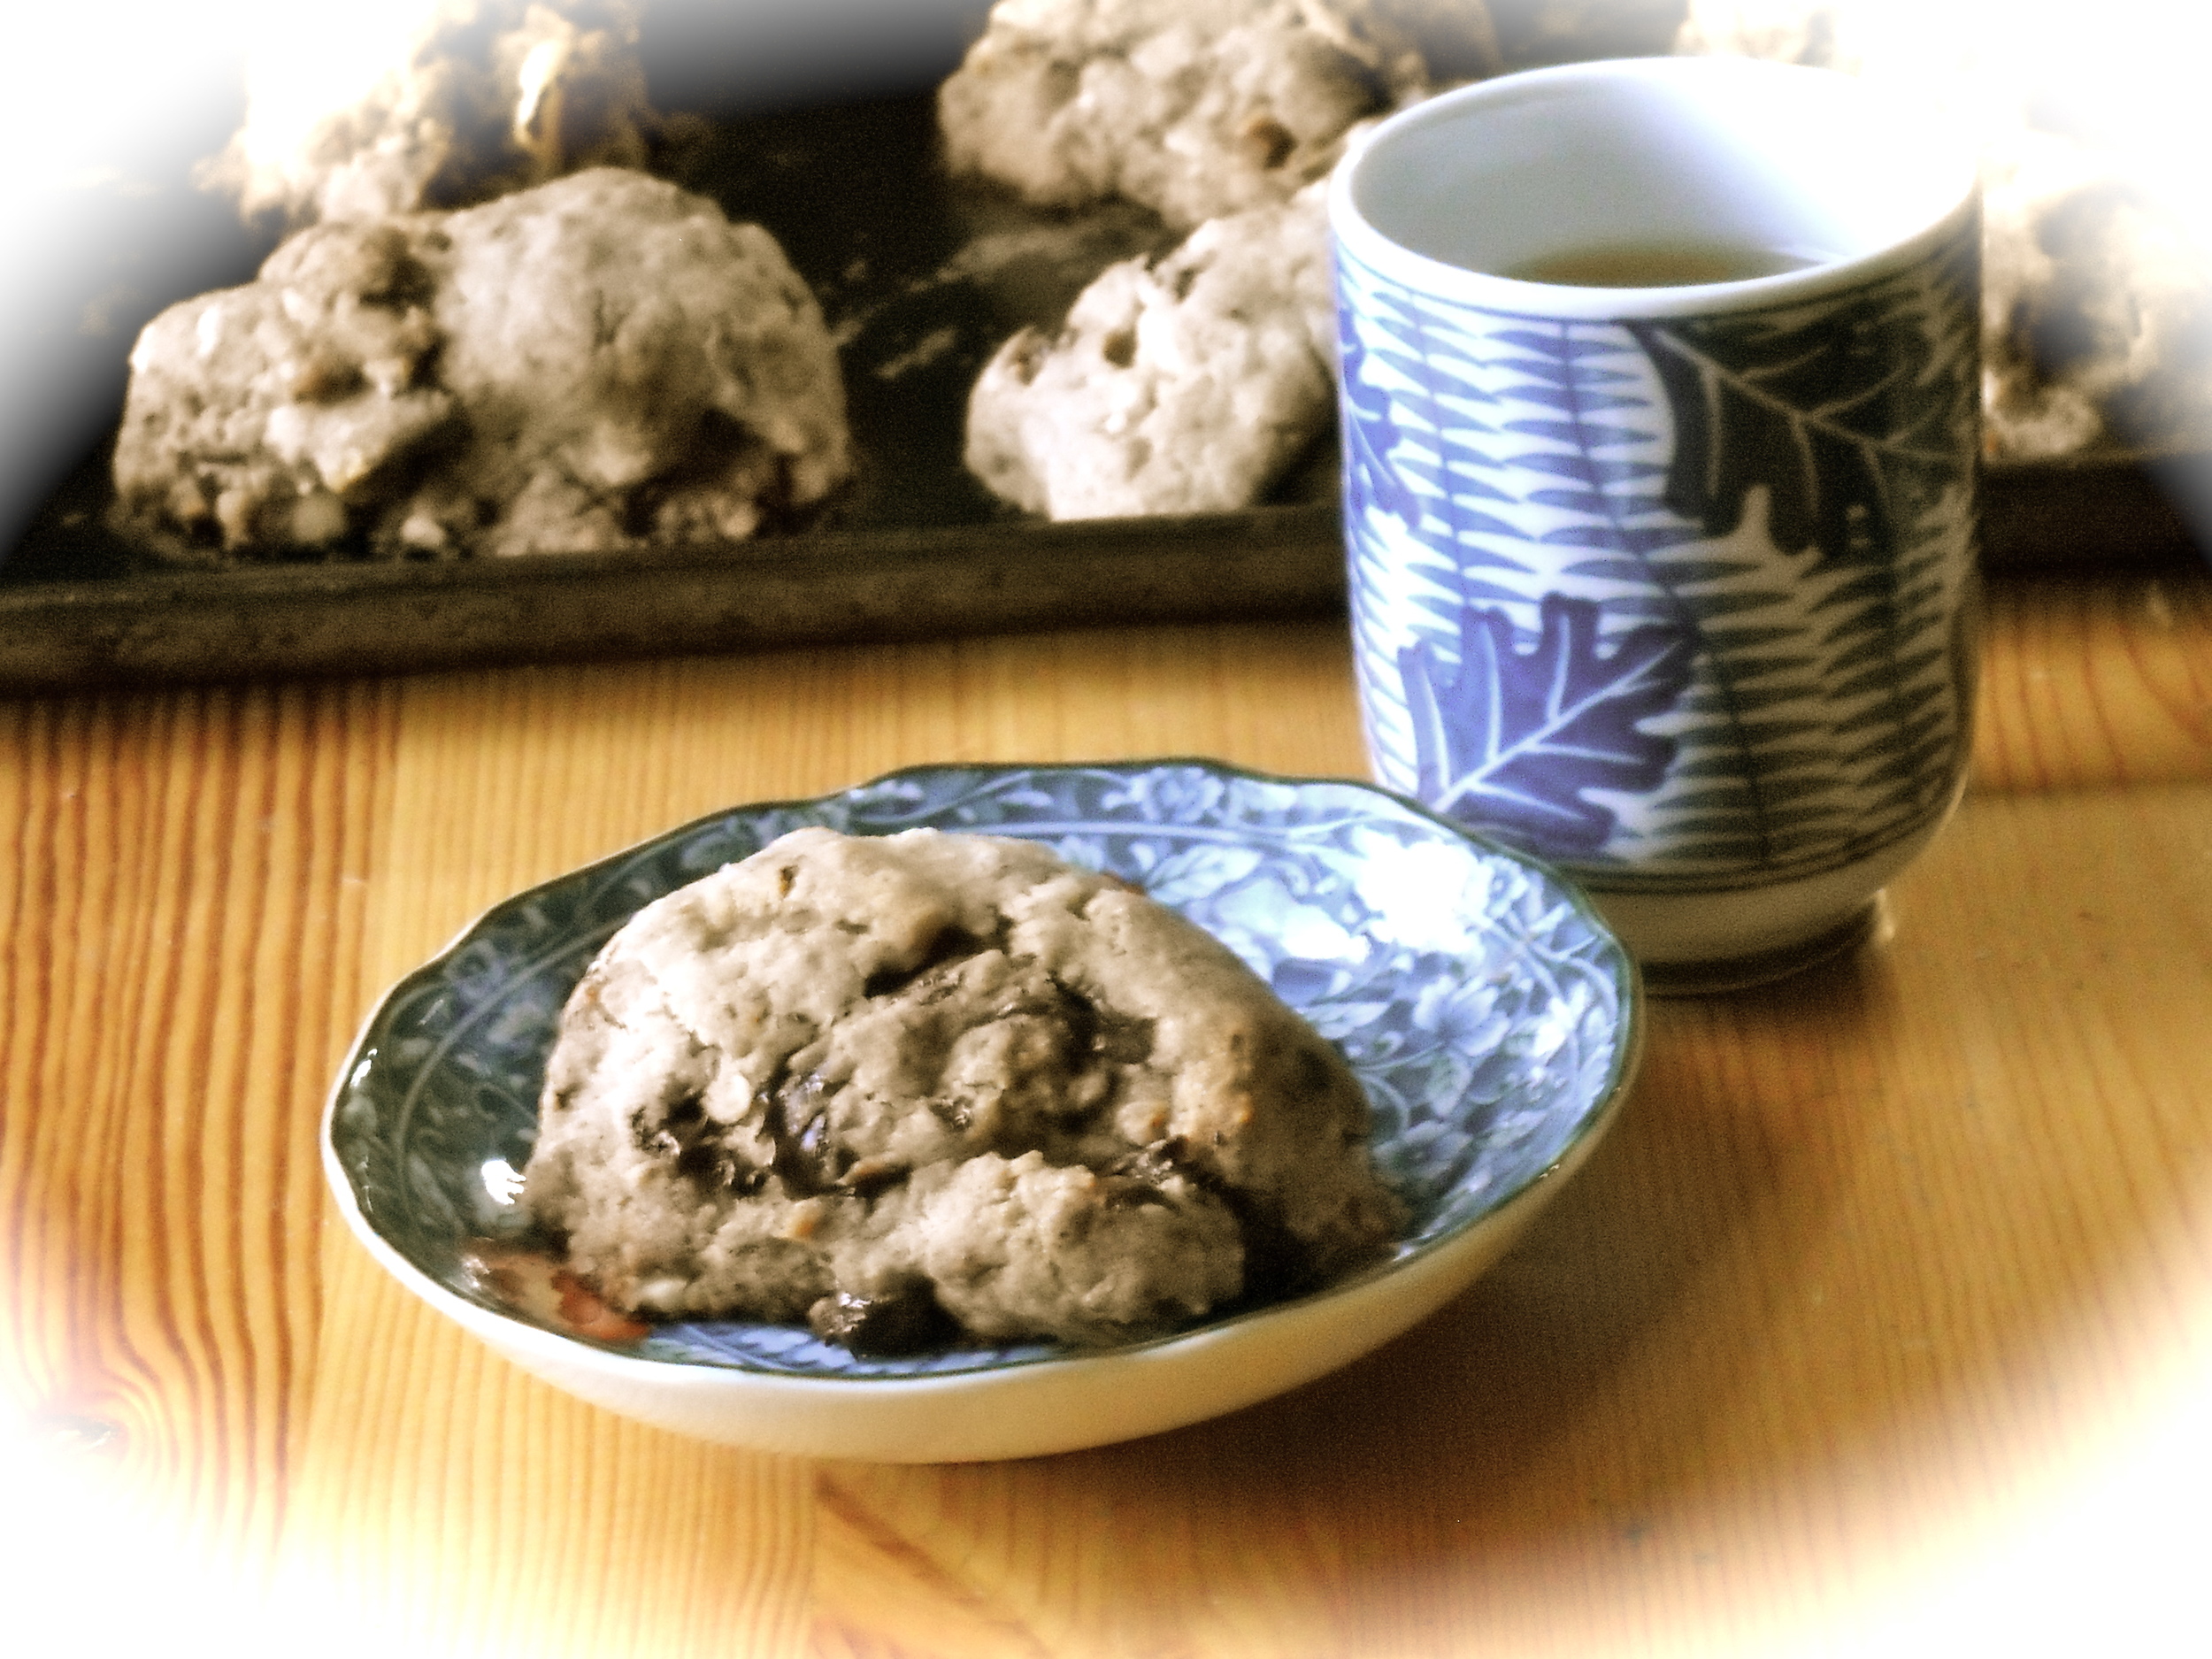 I called these decadent biscuitlike treasures, freedom scones, because all the ingredients break the prison of lethargy that other sweets tend to build around my day. I find that a cup of hot herbal tea is the perfect companion to them (yes, I always have more than one, if you try them you will know why).
I adapted this recipe from Jenny Nelson' Clean Eat, but quite frankly the scones are so good, it makes me feel a bit dirty eating them, and preparing them is a fun mess, totally worth it. These guys are vegetarian, vegan and delicious.
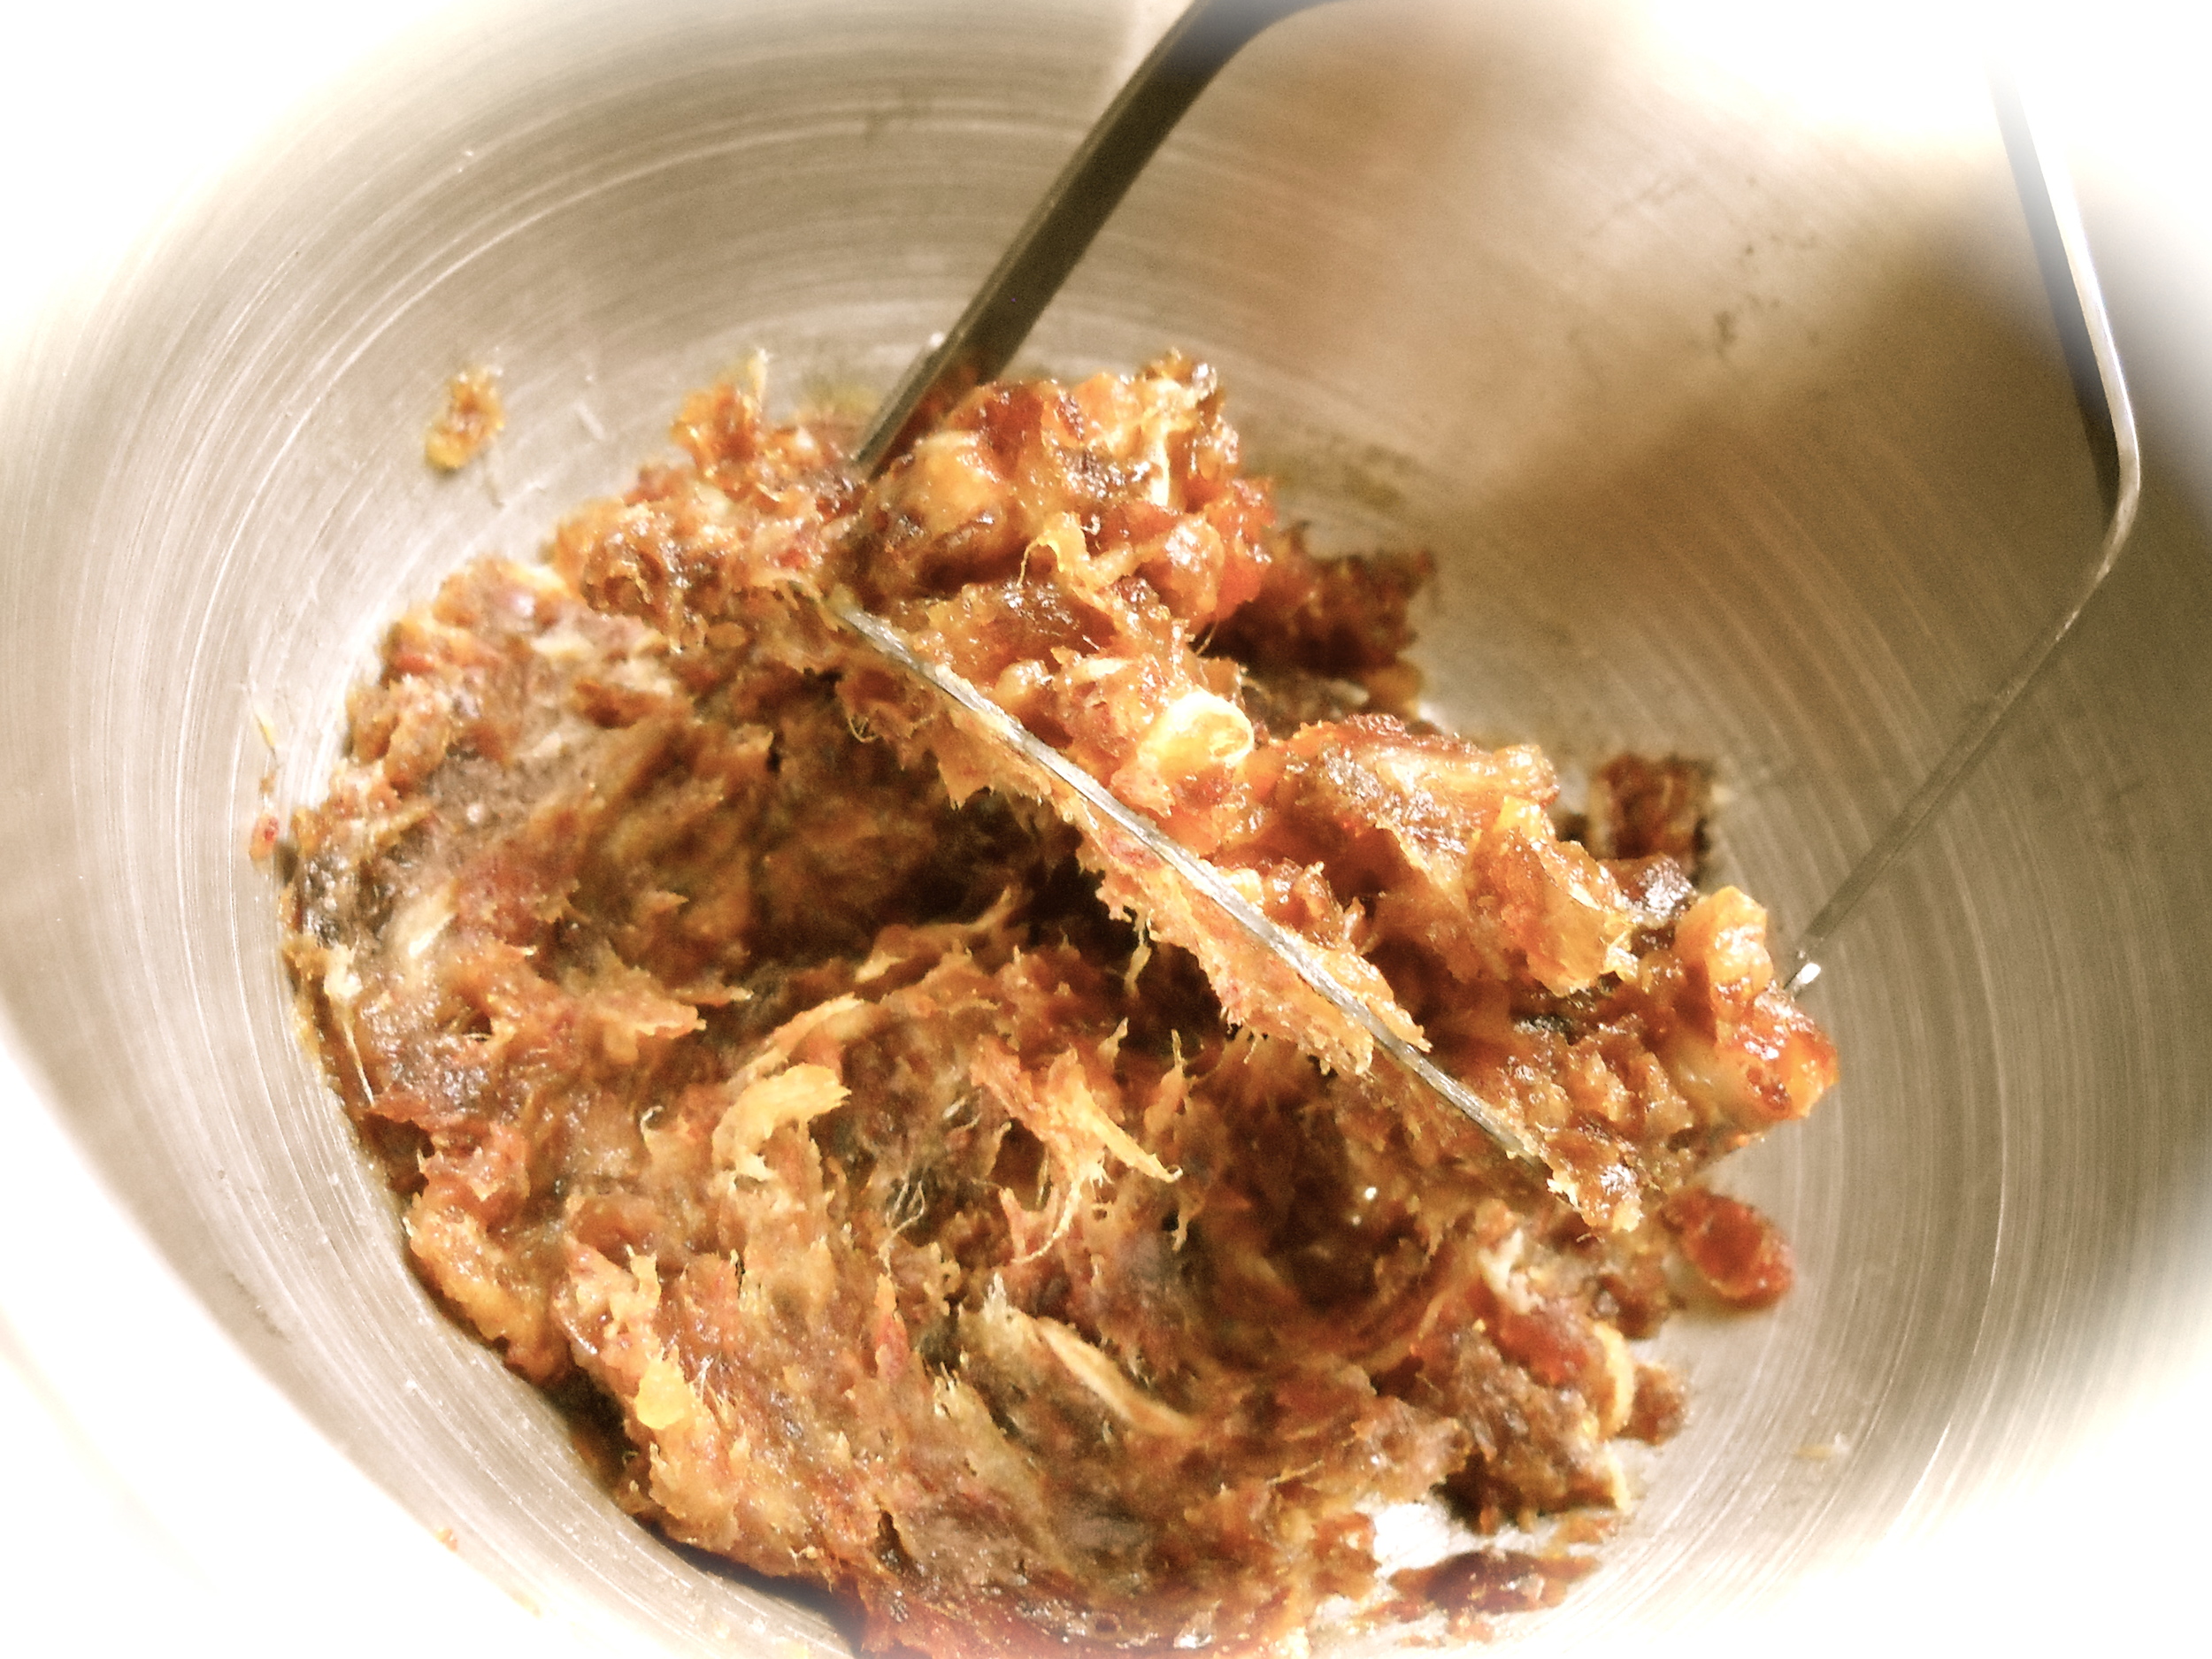 Mix all dry ingredients in a large bowl. In a separate bowl, mash the dates until you have a thick paste and set aside (see picture). Add melted coconut oil to date paste with vanilla and water. Add the wet ingredients to dry ingredients and mix until combined.


