I originally posted this back in 2009 in Al-Abode, but I feel it was worth posting again.
This is my favorite time of the year to cook and try out new recipes. I can already smell the earthy flavors of the fresh roots roasting in the oven and the ambrosial aroma that spices can bring out from any dish. To prepare for this coming feast, I decided to re-organize my spices and in the process I started questioning the freshness of some of my bottled friends. I bought some of these spices when the Spice Girls were coming out with their first album--OK, I had to mention the Spice Girls somehow, forgive me.
I consulted the McCormick's site, they had some good tips to determine if you must edit your spices and replace them. To remember these tips think CASH (after all it cost some cash to replace spices)--Color, Aroma, Storage  and Humidity. Here is the run down in my own words,
Color: Check to see that the color of your spices and herbs is vibrant. Pastels are not vibrant colors, I don't care what Martha says. If the color has faded, so has the sass--kind of the highlights on your hair. No color, toss. (of course, if the spice is cream or light to begin with, use your intuition)
Aroma: Rub or crush the spice or herb in your hand, smell it. (You can follow this rule in dating as well). If the aroma is weak and flavor is not apparent, toss it.
Storage: Store herbs and spices in a tightly capped container, and keep away from heat, moisture, and direct sunlight. There were wars fought over spices and expensive enterprises were device just for spices - Columbus' journey, any one? Spices are expensive, spend some time and effort in keeping them in the proper container. If you haven't stored the spices properly, chances are they need to be replaced.
Handling: Try not to sprinkle spices and herbs directly from the bottle into a steaming pot. OK, I do this all the time. Repeated exposure to heat and moisture will ruin the whole thing - think about the hair analogy again. Measure them into a cup, measuring spoon, or bowl and then add to your recipe. If the spice is moist, it needs to be tossed.
While doing my research, I found this very useful picture:
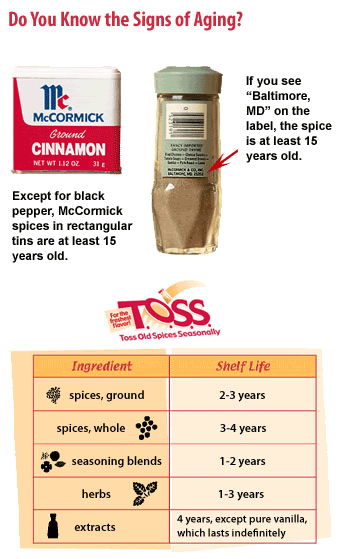
- Determine if your spice needs replacement
I love how Vanilla extract lasts "indefinitely"...guys, take note: diamonds may last forever, but vanilla smells better!
Have fun cleaning up your spices and if you have any questions let me know.


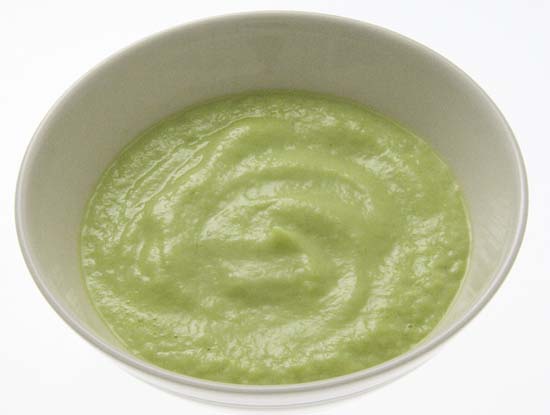 It’s that time of the year when Summer is upon us, and all of Winter’s extra calories and Spring’s extra allergens catches up with our bodies. As we progress into our Spring Cleaning, it is also a good time to do some good Digestive Cleaning. This Cucumber and Avocado Soup is a great Spring/Summer addition to your Detox recipes. The green color is so mesmerizing and the flavor is soothing and just kewl.
 seatbelts, this is the fastest recipe in history. If you ever wonder if there was a healthy appetizer that will take no time in making and could single handed change the course of a cocktail party; wonder no more. My favorite go-to-domestic0-maven Joannie Coles shared with me this recipe which turns out to be a favorite anywhere it goes. I believe she got it from
  I worked in retail for so long that I tend to ignore the holiday decorations and music, gliding oblivious to the fact that the end of the year is approaching. To me, the holiday season starts the moment all the home made treats appear on the break-room tables across America. New recipes get tested, excess sweet treats get recycled, sugary gifts get re-gifted...you name it; temptation lurks around the corner. Unless you are made out of stone, you will succumb. When I do, I always tell myself what I imagine
  Nothing serves me better than a nutritious, light and fresh lunch. Below is one of my favorite cleansing salads. The crunchy apples and watery cucumbers always taste heavenly during this time of the year. Enjoy.
 My new friend roof-top-sparklers-show-Angel gave me a the biggest pumpkin to take home the other day and I have taken it as a personal mission to use every ounce of this pumpkin. I have incorporated the darn thing in all my fall recipes and I still have some pumpkin left, so I dusted my recipe box and found this glorious arugula-pumpkin salad recipe in there. I am not sure where I found this little treasure, but I feel I should give credit to Martha Stewart. I think we all should give credit to Martha Stewart even when it is not her recipe. Just reading the recipe makes me salivate in anticipation; partnering the sweet pumpkin with the tingling flavors of arugula and peppers is, well, just genius. Enjoy.
 Cooler temperatures connect me with my kitchen and all the delights I tend to experience during these harvesting months. Vegetables are so readily available and the kaleidoscopical transformation of the trees inspires me to use spices in some very irreverent ways. Cumin mayo, mustard seeds dressings, paprika syrup, and the conspicuous cinnamon with pretty much any vegetable- what a decadent experience for the senses.
Just the other night I concocted a very simple and delightful recipe using cinnamon. I am calling it, well, Cinnamon Spinach. It is a perfect side dish, but be aware that it will be the main attraction on your plate. Below see the recipe and right after I am listing ten + one benefits of cinnamon. Enjoy…
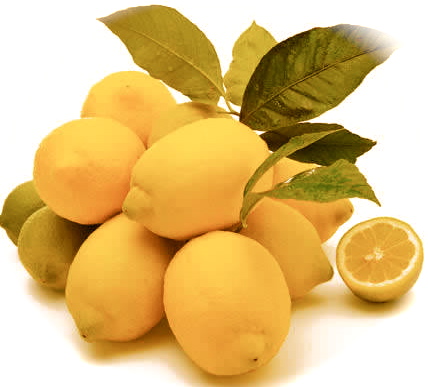 The allure of a freshly squeezed lemonade has the promise of nostalgia, relaxation and cooling. Every summer I indulge in the nectar of the citrus-gods, only to face the consequences of too much processed sugar. So I armed myself with a bag of sunny lemons (blessed be Trader Jo's super affordable lemons) and alternative sweeteners to find the perfect lemonade recipe without process sugar and, after many trial, here are the recipes.
Agave Lemonade
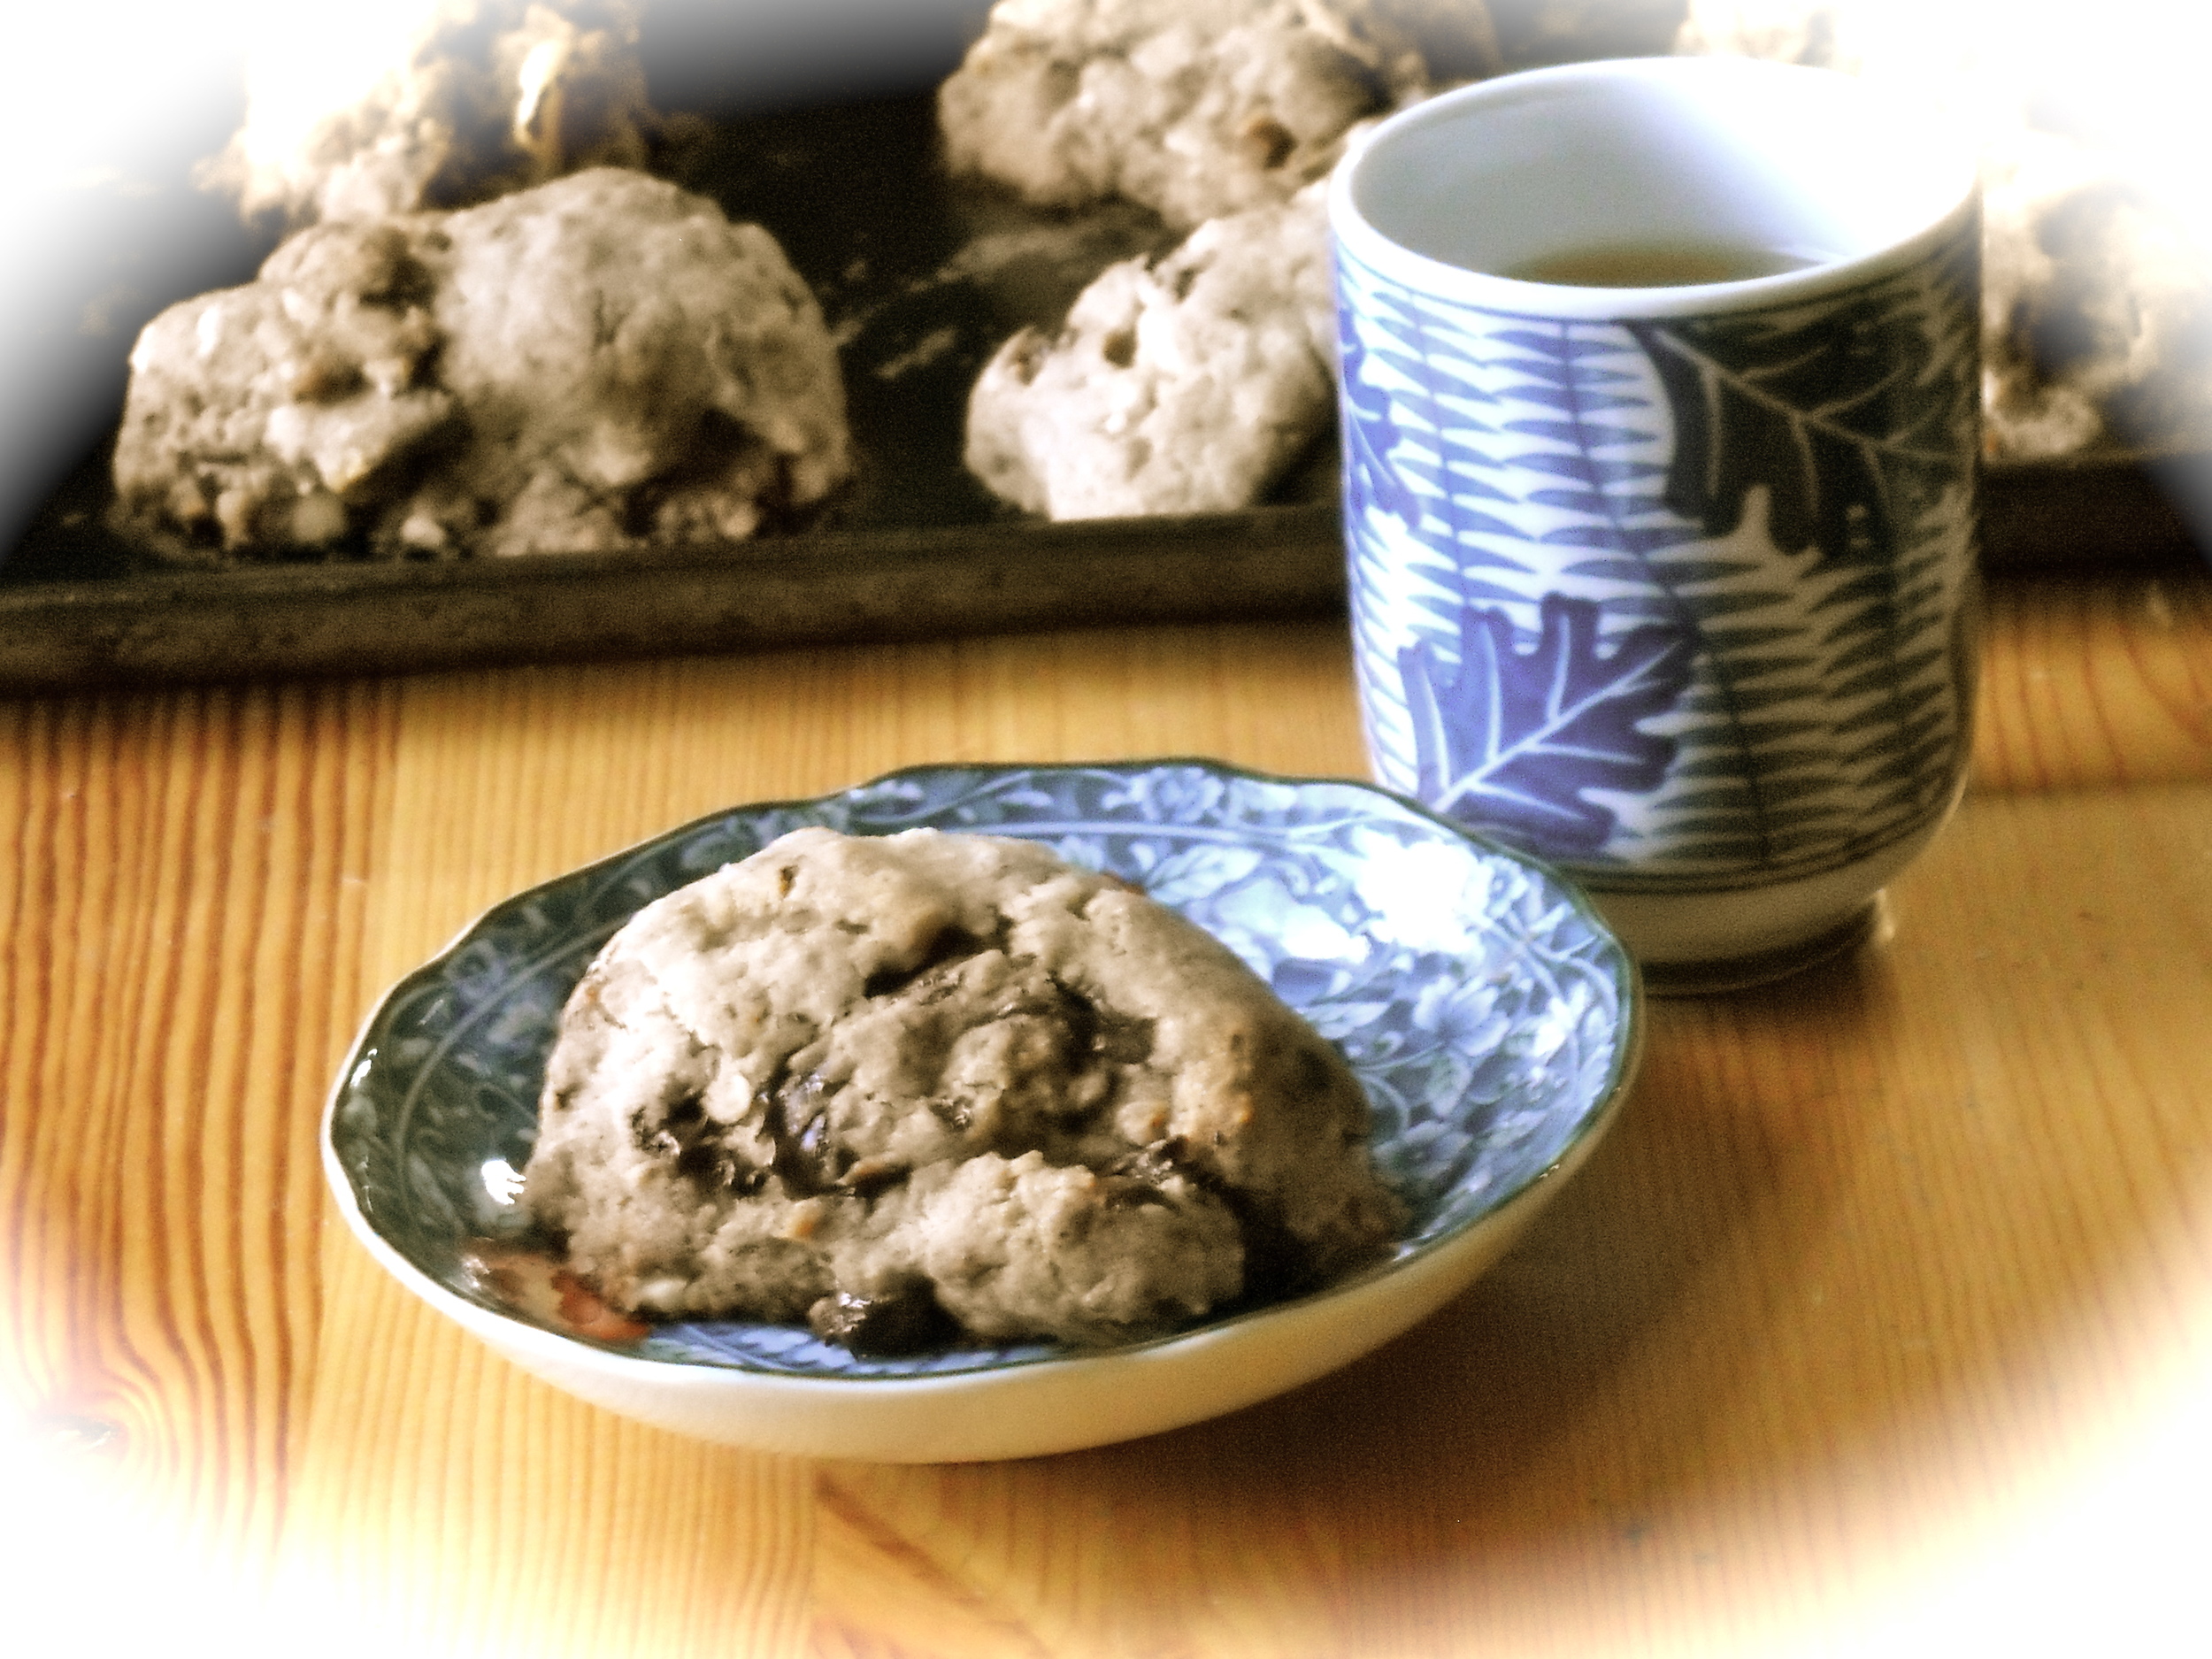 I called these decadent biscuitlike treasures, freedom scones, because all the ingredients break the prison of lethargy that other sweets tend to build around my day. I find that a cup of hot herbal tea is the perfect companion to them (yes, I always have more than one, if you try them you will know why).
I adapted this recipe from Jenny Nelson' Clean Eat, but quite frankly the scones are so good, it makes me feel a bit dirty eating them, and preparing them is a fun mess, totally worth it. These guys are vegetarian, vegan and delicious.
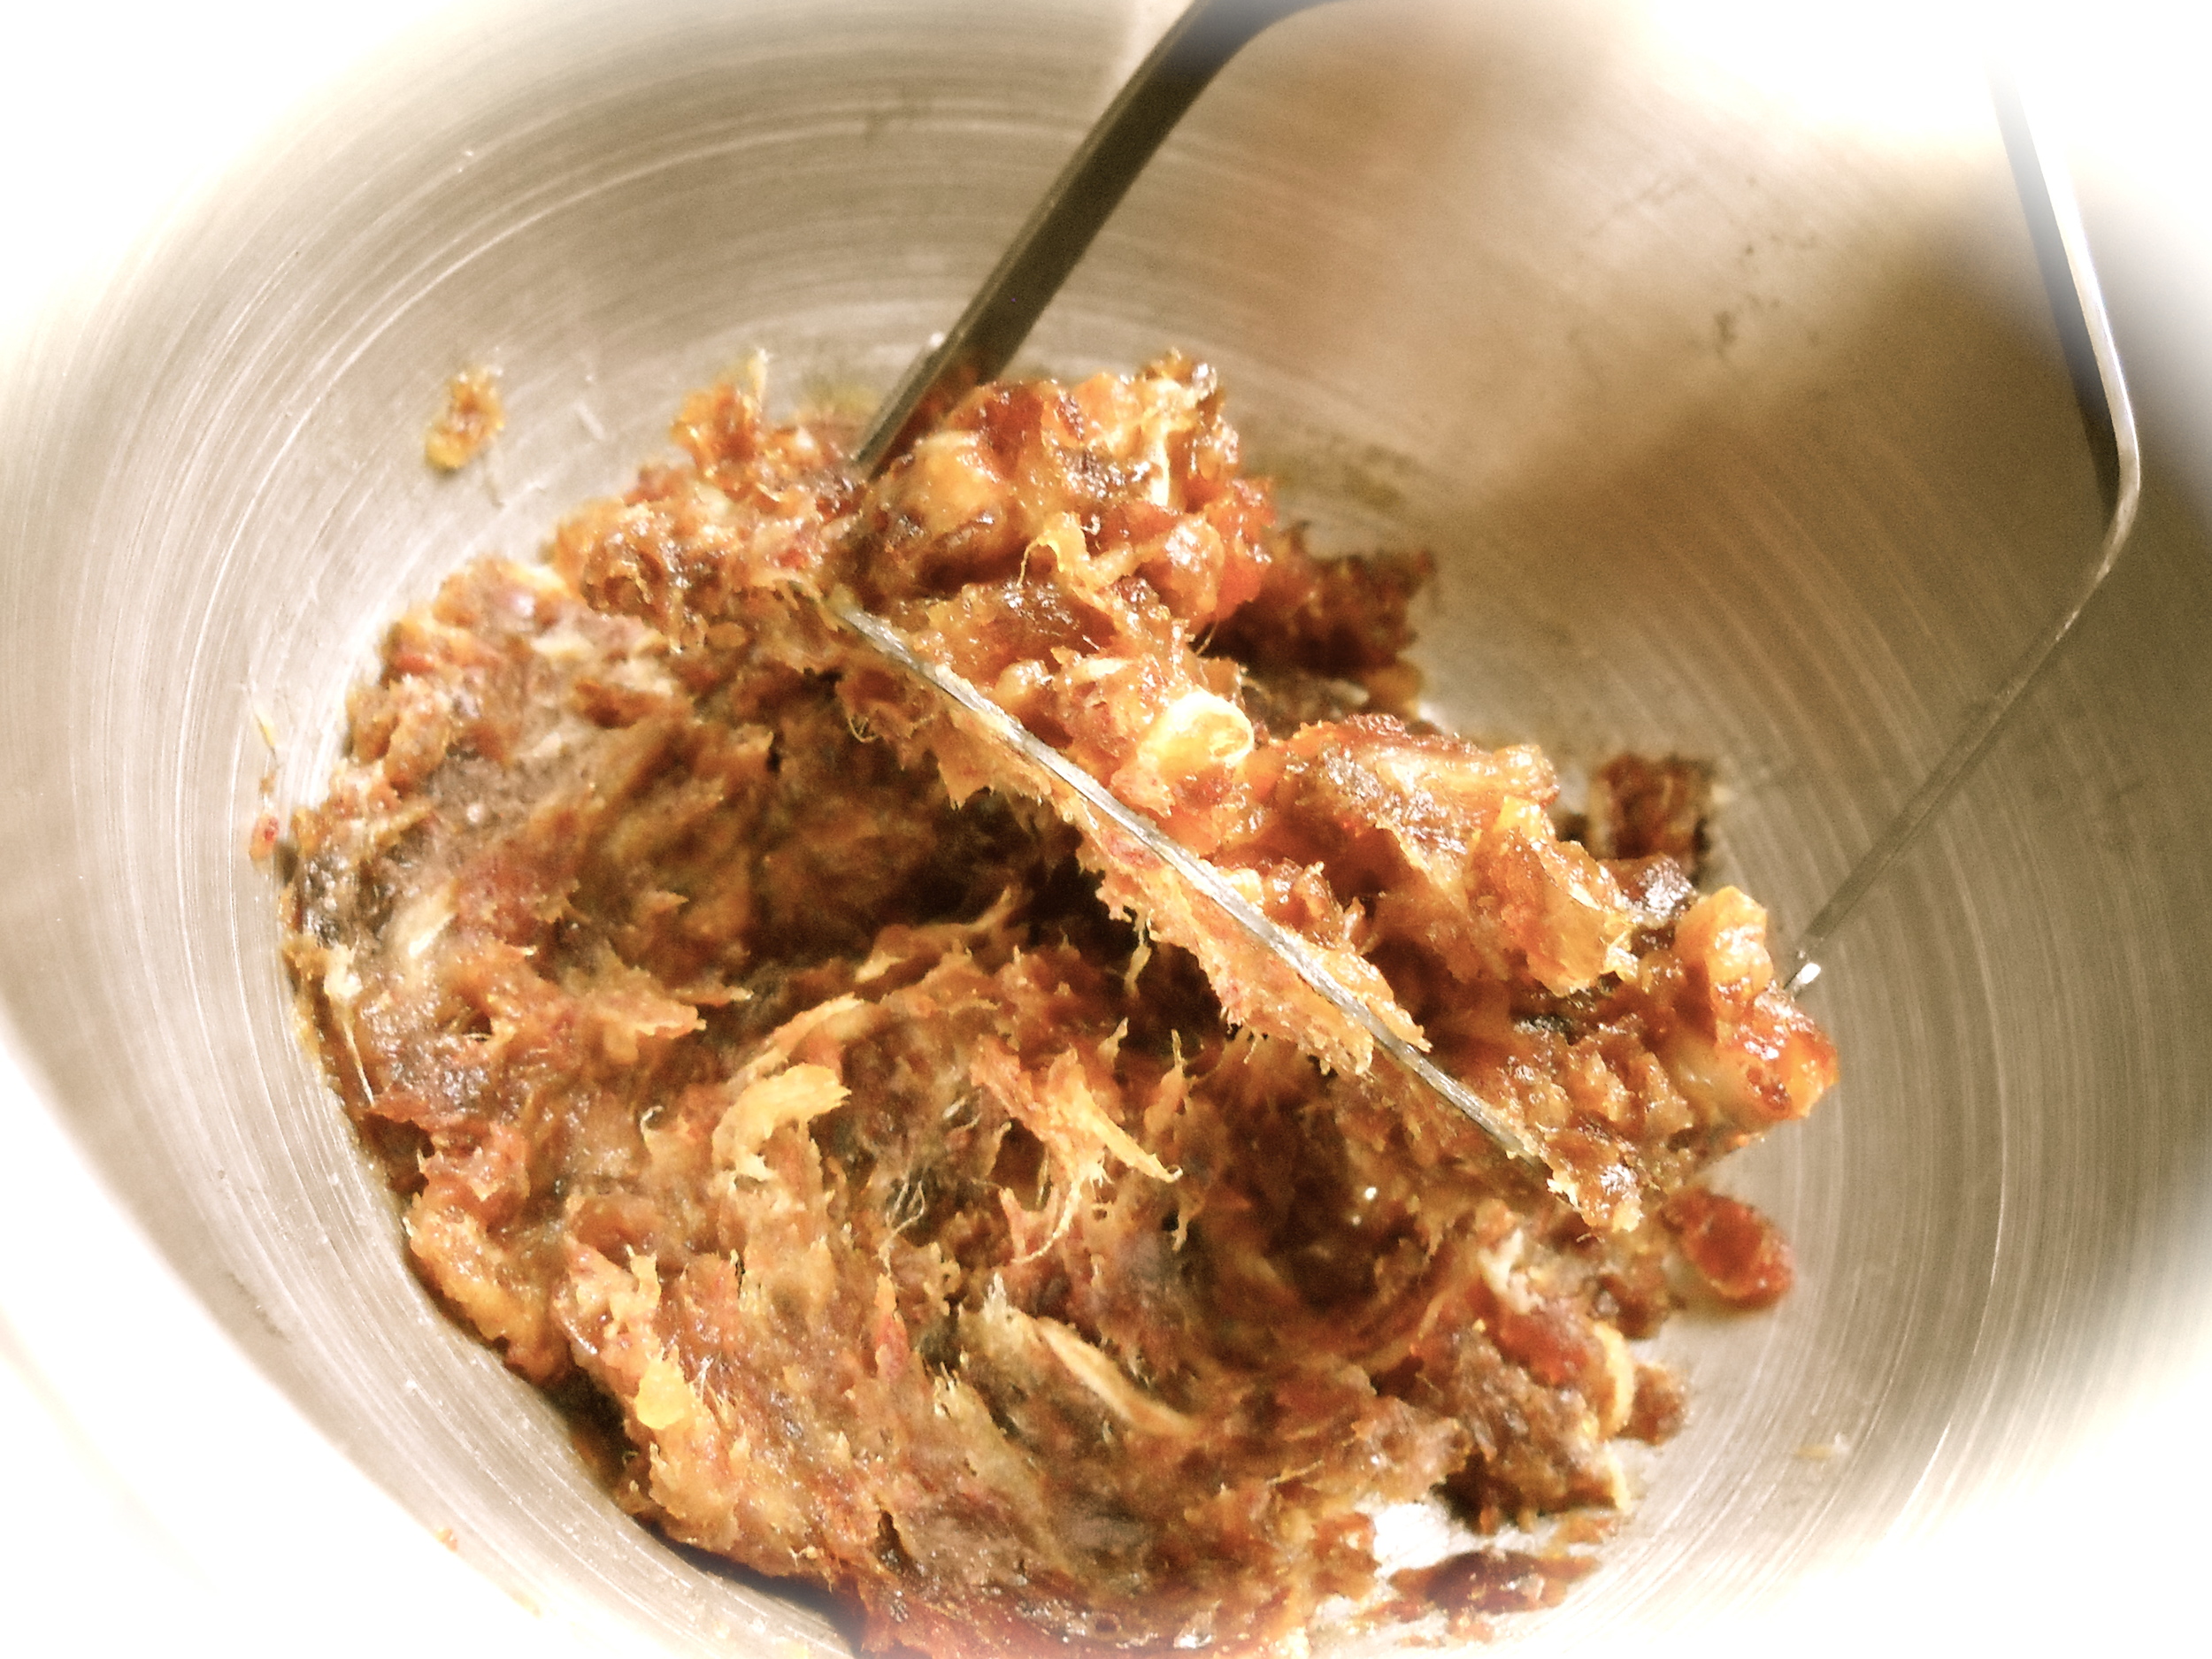 Mix all dry ingredients in a large bowl. In a separate bowl, mash the dates until you have a thick paste and set aside (see picture). Add melted coconut oil to date paste with vanilla and water. Add the wet ingredients to dry ingredients and mix until combined.
 I recently met this beautiful girl, Christine McSpedon. She is a Holistic Health Counselor from the
  and Humidity. Here is the run down in my own words,
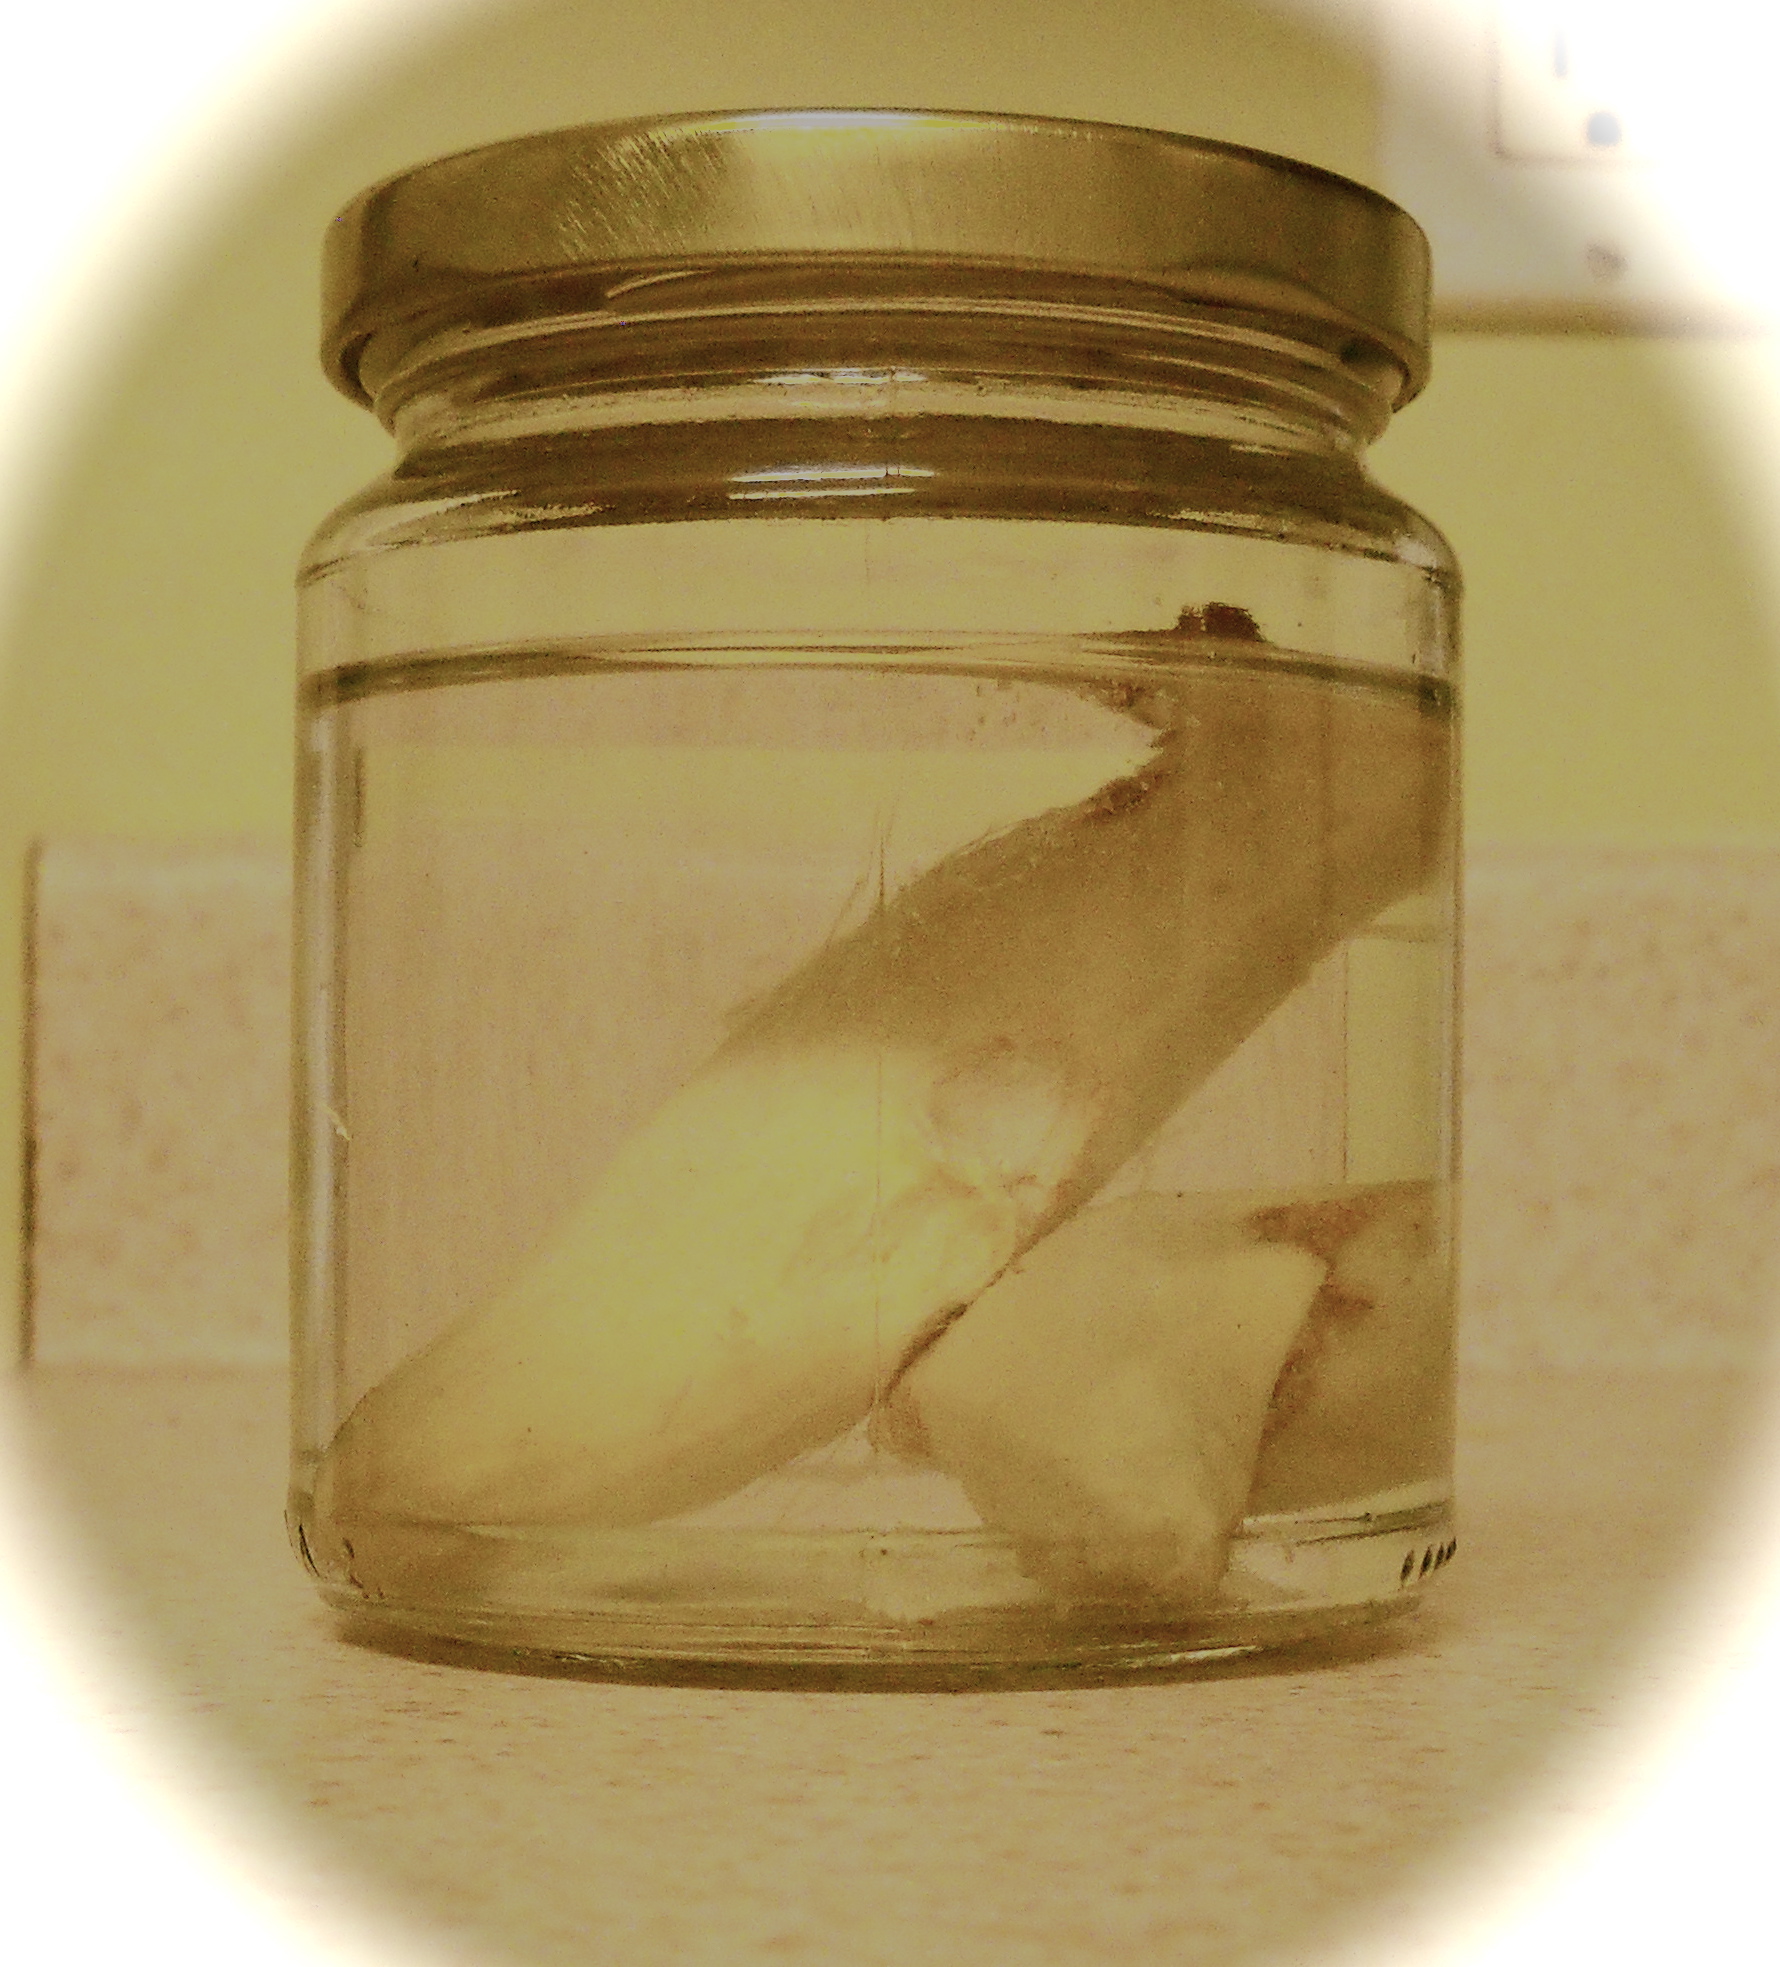 Whenever I can, I use fresh ingredients. One of my favorite flavors to add to any zesty meal is ginger root (by the way not really a root, but an underground stem or rhizome). Minced or grated, the fresh aroma of ginger root will evoke voluptuousness and its spicy flavor will delight you every time. Fresh ginger root is like the
